|
-
 Smudge Signature Tutorial Smudge Signature Tutorial
This tutorial is so easy, anyone can do it.
This is for Photoshop, but if you have GIMP, I bet there is a way to do the same way using it.
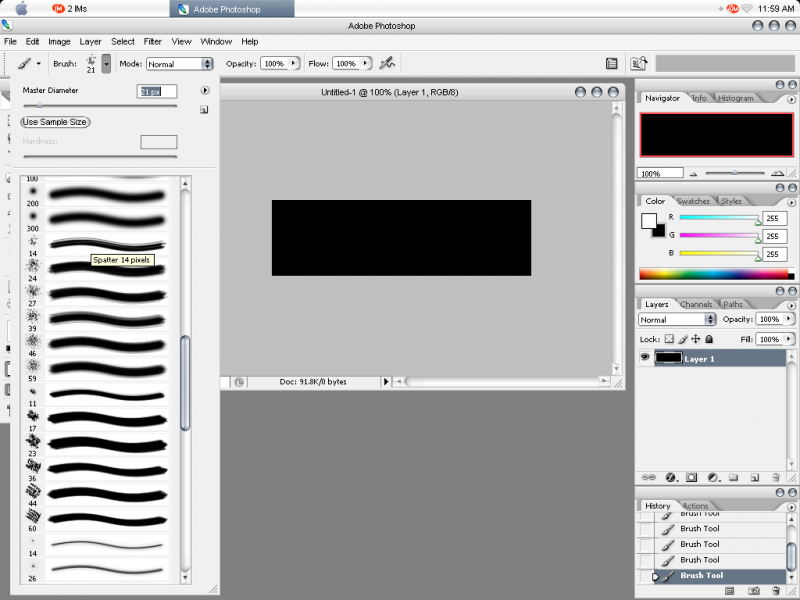
Step 1: Make a new document, size doesn't matter, and pick the 14 Splatter Brush. Change the size to whatever you like. I recommend 21.
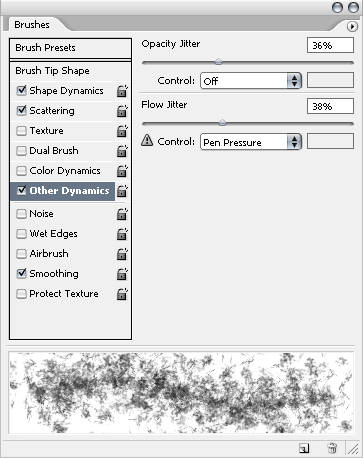
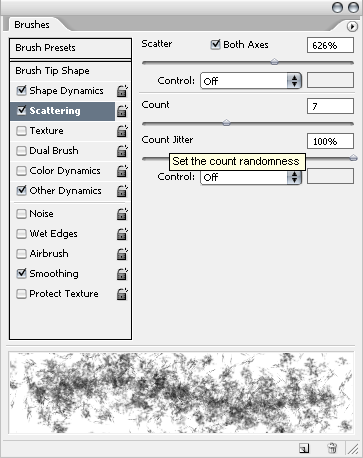
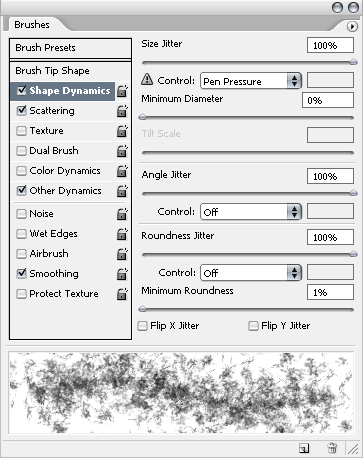
Step 2: Opening the Brush Pallet, by clicking on the menu type button on the toolbar, use these settings. (Oh, some of mine are different because I was in Brush and didn't notice. Just tweak the Other Settings to match what I have)
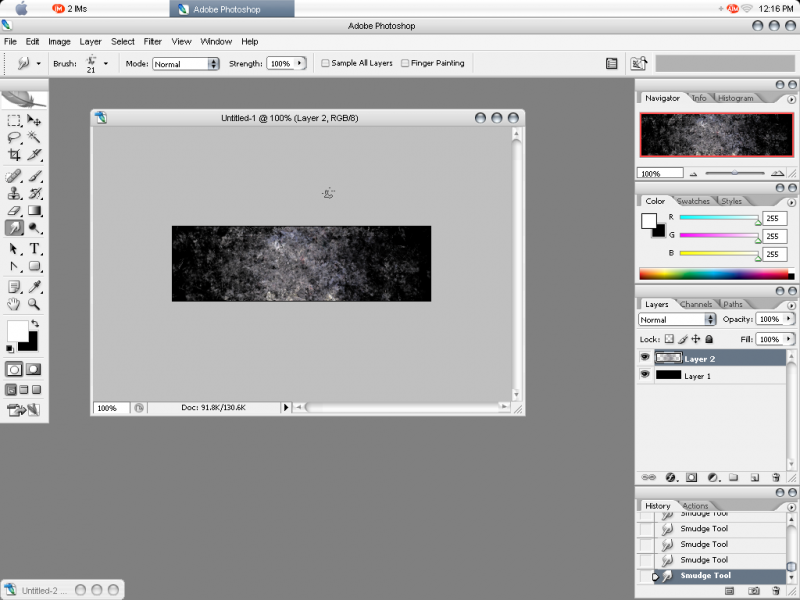
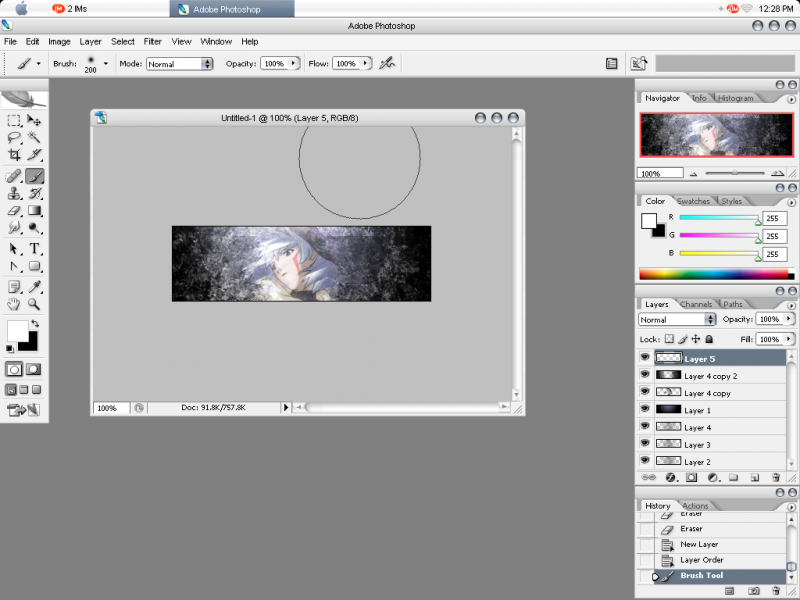
Step 3: Place your render in the center of the signature and start smudging. Smudge until you have something like what I have.
Step 4: Put your render on the signature again and start smudging. Don't smudge as much this time, and only smudge about half as far out as you did before. 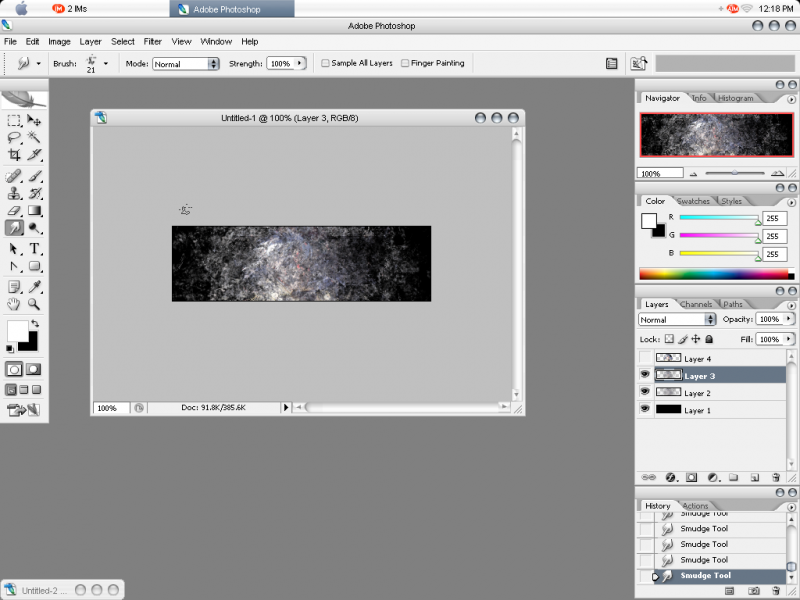
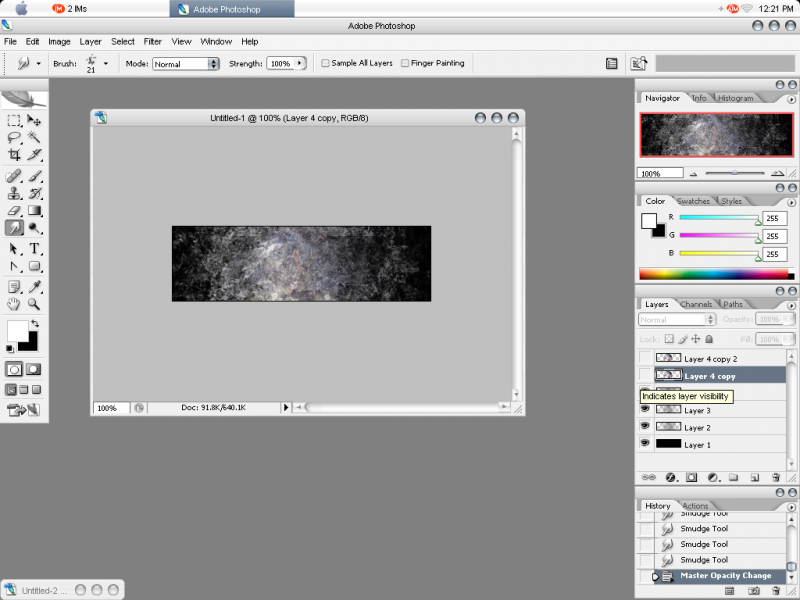
Step 5: Do the same thing, place your render, and smudge. Smudge however you like. Once you finish, set the opacity of the layer to 50%.
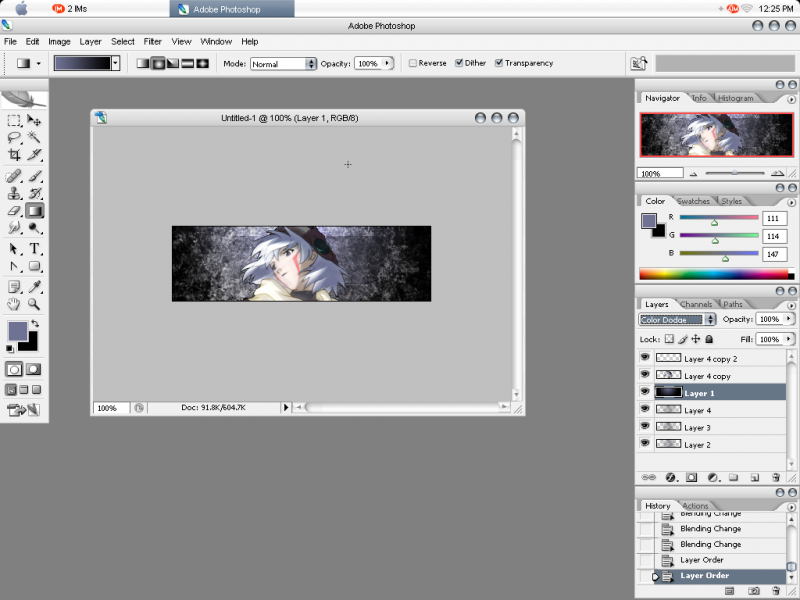
Step 6: Now, on the layer you started with (Should be Black), place a gradient that is Black and Some color from your Render. Use radial and then place that layer right under your render layer. Set it to Color Dodge.
Step 7: Now, take a Soft 35 brush and erase the edges ever so slightly. This just makes it blend in a little.
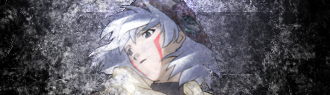
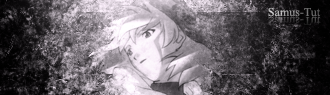
After that, your signature can be called "finished", but if you want to add some more effects, then continue on. This is what your signature should look like:
Step 8: Now to add some easy lighting. Select a Soft 200 brush and make sure the color is white. Click once right above your signatures head or wherever you think the lighting should be and then you have light.
Step 9: Now to add a gradient map. Where it shows the layers, look under it a little and you should see a circle that is half white and half black. Click on that and select Gradient Map. Choose a black and white one and then check reverse.
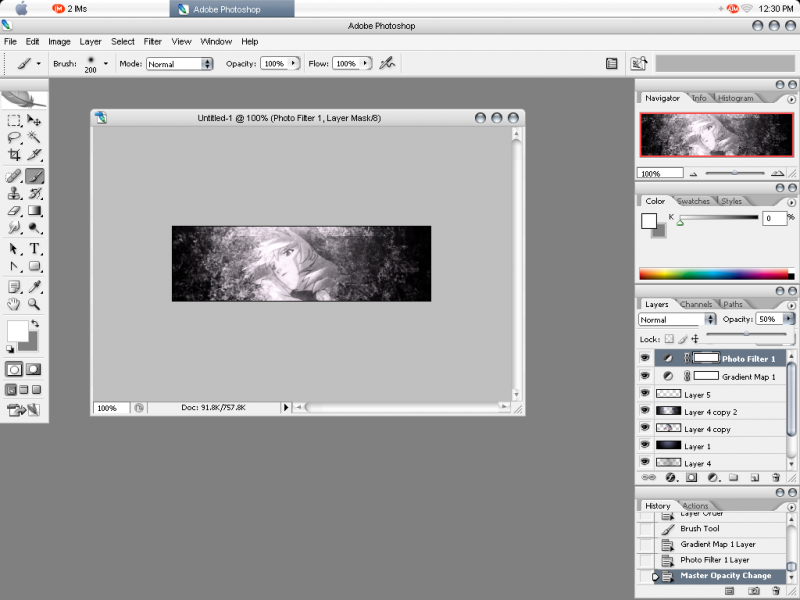
Step 10: Now to add a Photo Filter. Click on the circle again and select Photo Filter. Choose whatever color goes best with your signature. I chose Magenta. Change the opacity of that layer to 50% so you get faint coloring.
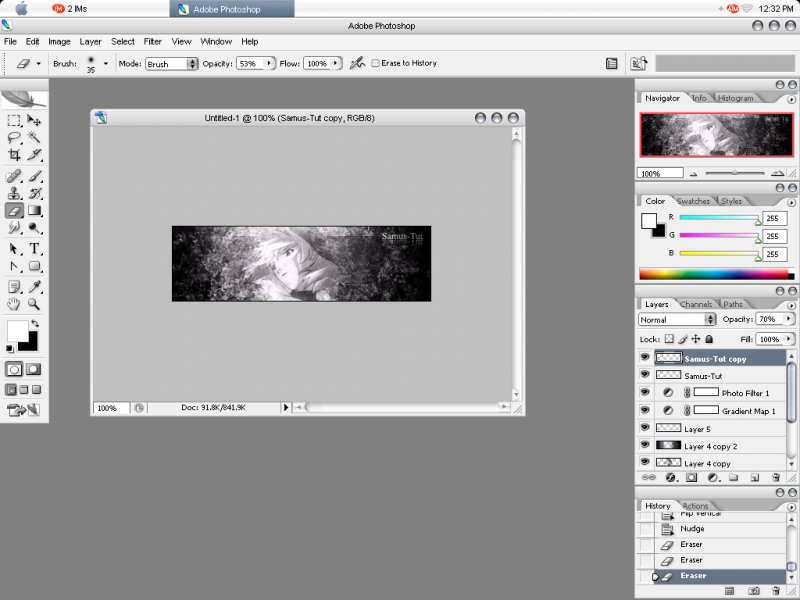
Step 11: Add text and a border and you are done! When you finish, your signature should look something like this:
Thread Information
Users Browsing this Thread
There are currently 1 users browsing this thread. (0 members and 1 guests)
Similar Threads
-
By Riku-Nara in forum Graphics
Replies: 5
Last Post: 03-24-2008, 10:30 PM
-
By Kiss in forum Graphics
Replies: 10
Last Post: 01-27-2008, 07:58 PM
-
By Kiss in forum Graphics
Replies: 2
Last Post: 12-03-2007, 06:56 PM
-
By Kiss in forum Graphics
Replies: 0
Last Post: 11-09-2007, 01:28 PM
-
By wallDawg in forum Role Playing Games (RPG)
Replies: 3
Last Post: 11-29-2006, 01:24 PM
 Posting Permissions
- You may not post new threads
- You may not post replies
- You may not post attachments
- You may not edit your posts
-
Forum Rules
|
» Site Navigation

» Friends
» Sponsors
|


 Reply With Quote